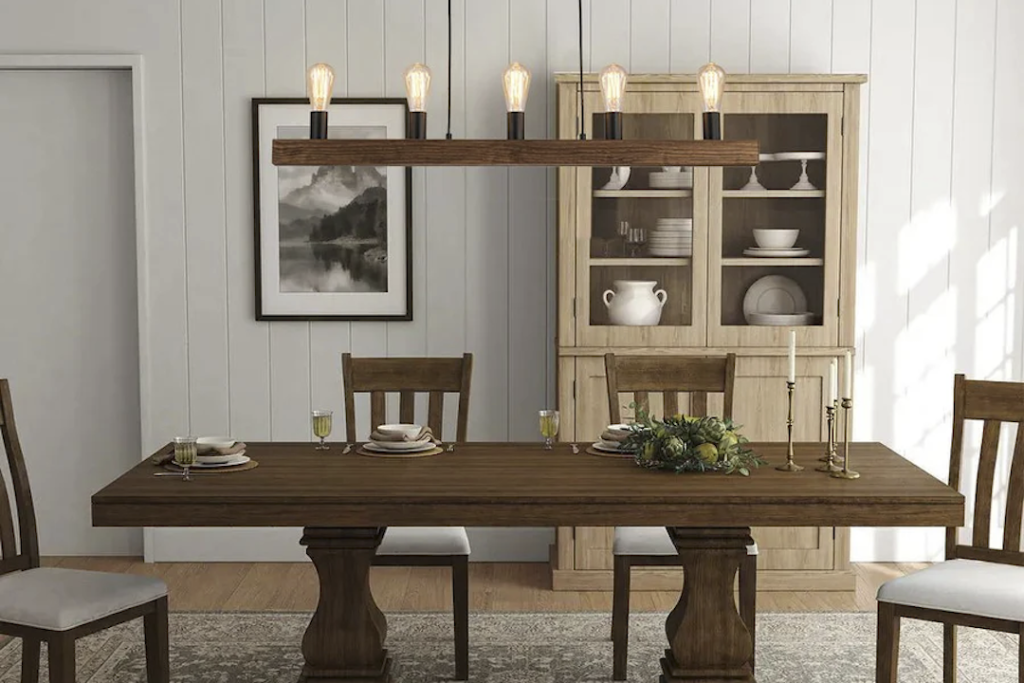
Wall light fixtures are a popular choice for homeowners who want to elevate the look of their homes. Installing wall light fixtures can add aesthetic appeal and functionality to any room. In this guide, we will provide a step-by-step guide on how you can install a wall light fixture in your home.
Materials Needed
Before starting the installation, you will need to gather the following materials:
- Wall light fixture
- Screwdriver
- Pliers
- Wire strippers
- Electrical tape
- Wire nuts
- Screws and anchors
Step-by-Step Guide
Step 1: Turn Off Power
To ensure safety during the installation process, we recommend turning off the electricity of the room you will be working in. This can be done by switching off the circuit breaker or removing the fuse from the electrical panel. You can test that the power is off by turning on the light switch of the room to verify that the light does not turn on.
Step 2: Remove Existing Fixture
Using a screwdriver, remove the screws that hold the existing fixture to the wall. Carefully remove the fixture to reveal the electrical box.
Step 3: Inspect the Electrical Box
It is important to ensure that the electrical box is secure and can support the weight of the new light fixture. If the existing box is too small or unstable, you may need to install a new electrical box.
Step 4: Connect the Wires
Now that you have prepared the electrical box, it is time to connect the wires of the new fixture. Start by connecting the grounding wire to the green or bare copper wire inside the electrical box. Then, connect the black wire of the fixture to the black wire inside the electrical box, and the white wire of the fixture to the white wire inside the electrical box. Use wire nuts to secure the connections and wrap them with electrical tape for added safety.
Step 5: Attach the Fixture
After connecting the wires, attach the fixture to the electrical box using the screws provided. Most fixtures come with hardware to attach them to the wall. Make sure to follow the instructions carefully to ensure that the fixture is secure.
Step 6: Test the Fixture
Once the fixture is installed, turn the electricity back on and test the new installation. Turn on the light switch to make sure that the fixture is working properly.
Installing a wall light Buboliving fixture may seem daunting, but with the right tools and a step-by-step guide, it can be a straightforward process. Following these steps will help you install a new fixture safely and efficiently. If you are unsure about any step of the installation process, do not hesitate to consult a professional electrician to ensure a successful installation.


